RDO is a community of people using and deploying OpenStack on CentOS, Fedora, and Red Hat Enterprise Linux. We have documentation to help get started, mailing lists where you can connect with other users, and community-supported packages of the most up-to-date OpenStack releases available for download.
Enabling the Optional, Extras, and RH Common channels on RHEL
If using RHEL it is assumed that you have registered your system using Red Hat Subscription Management and that you have the rhel-7-server-rpms repository enabled by default. RDO also needs the Optional, Extras, and RH Common channels to be enabled:
The Optional channel does not exist in CentOS or Scientific Linux. The required packages are included in the main repositories for those distributions. Extras is enabled by default on CentOS 7.
[root@tiny-openstack ~]# sudo packstack --allinone Welcome to the Packstack setup utility
The installation log file is available at: /var/tmp/packstack/20200102-115042-h_xYXR/openstack-setup.log Packstack changed given value to required value /root/.ssh/id_rsa.pub
Installing: Clean Up [ DONE ] Discovering ip protocol version [ DONE ] Setting up ssh keys [ DONE ] Preparing servers [ DONE ] Pre installing Puppet and discovering hosts' details [ DONE ] Preparing pre-install entries [ DONE ] Setting up CACERT [ DONE ] Preparing AMQP entries [ DONE ] Preparing MariaDB entries [ DONE ] Fixing Keystone LDAP config parameters to be undef if empty[ DONE ] Preparing Keystone entries [ DONE ] Preparing Glance entries [ DONE ] Checking if the Cinder server has a cinder-volumes vg[ DONE ] Preparing Cinder entries [ DONE ] Preparing Nova API entries [ DONE ] Creating ssh keys for Nova migration [ DONE ] Gathering ssh host keys for Nova migration [ DONE ] Preparing Nova Compute entries [ DONE ] Preparing Nova Scheduler entries [ DONE ] Preparing Nova VNC Proxy entries [ DONE ] Preparing OpenStack Network-related Nova entries [ DONE ] Preparing Nova Common entries [ DONE ] Preparing Neutron LBaaS Agent entries [ DONE ] Preparing Neutron API entries [ DONE ] Preparing Neutron L3 entries [ DONE ] Preparing Neutron L2 Agent entries [ DONE ] Preparing Neutron DHCP Agent entries [ DONE ] Preparing Neutron Metering Agent entries [ DONE ] Checking if NetworkManager is enabled and running [ DONE ] Preparing OpenStack Client entries [ DONE ] Preparing Horizon entries [ DONE ] Preparing Swift builder entries [ DONE ] Preparing Swift proxy entries [ DONE ] Preparing Swift storage entries [ DONE ] Preparing Gnocchi entries [ DONE ] Preparing Redis entries [ DONE ] Preparing Ceilometer entries [ DONE ] Preparing Aodh entries [ DONE ] Preparing Puppet manifests [ DONE ] Copying Puppet modules and manifests [ DONE ] Applying 192.168.100.90_controller.pp Testing if puppet apply is finished: 192.168.100.90_controller.pp [ - ] 192.168.100.90_controller.pp: [ DONE ] Applying 192.168.100.90_network.pp 192.168.100.90_network.pp: [ DONE ] Applying 192.168.100.90_compute.pp 192.168.100.90_compute.pp: [ DONE ] Applying Puppet manifests [ DONE ] Finalizing [ DONE ]
Installation completed successfully **
Additional information:
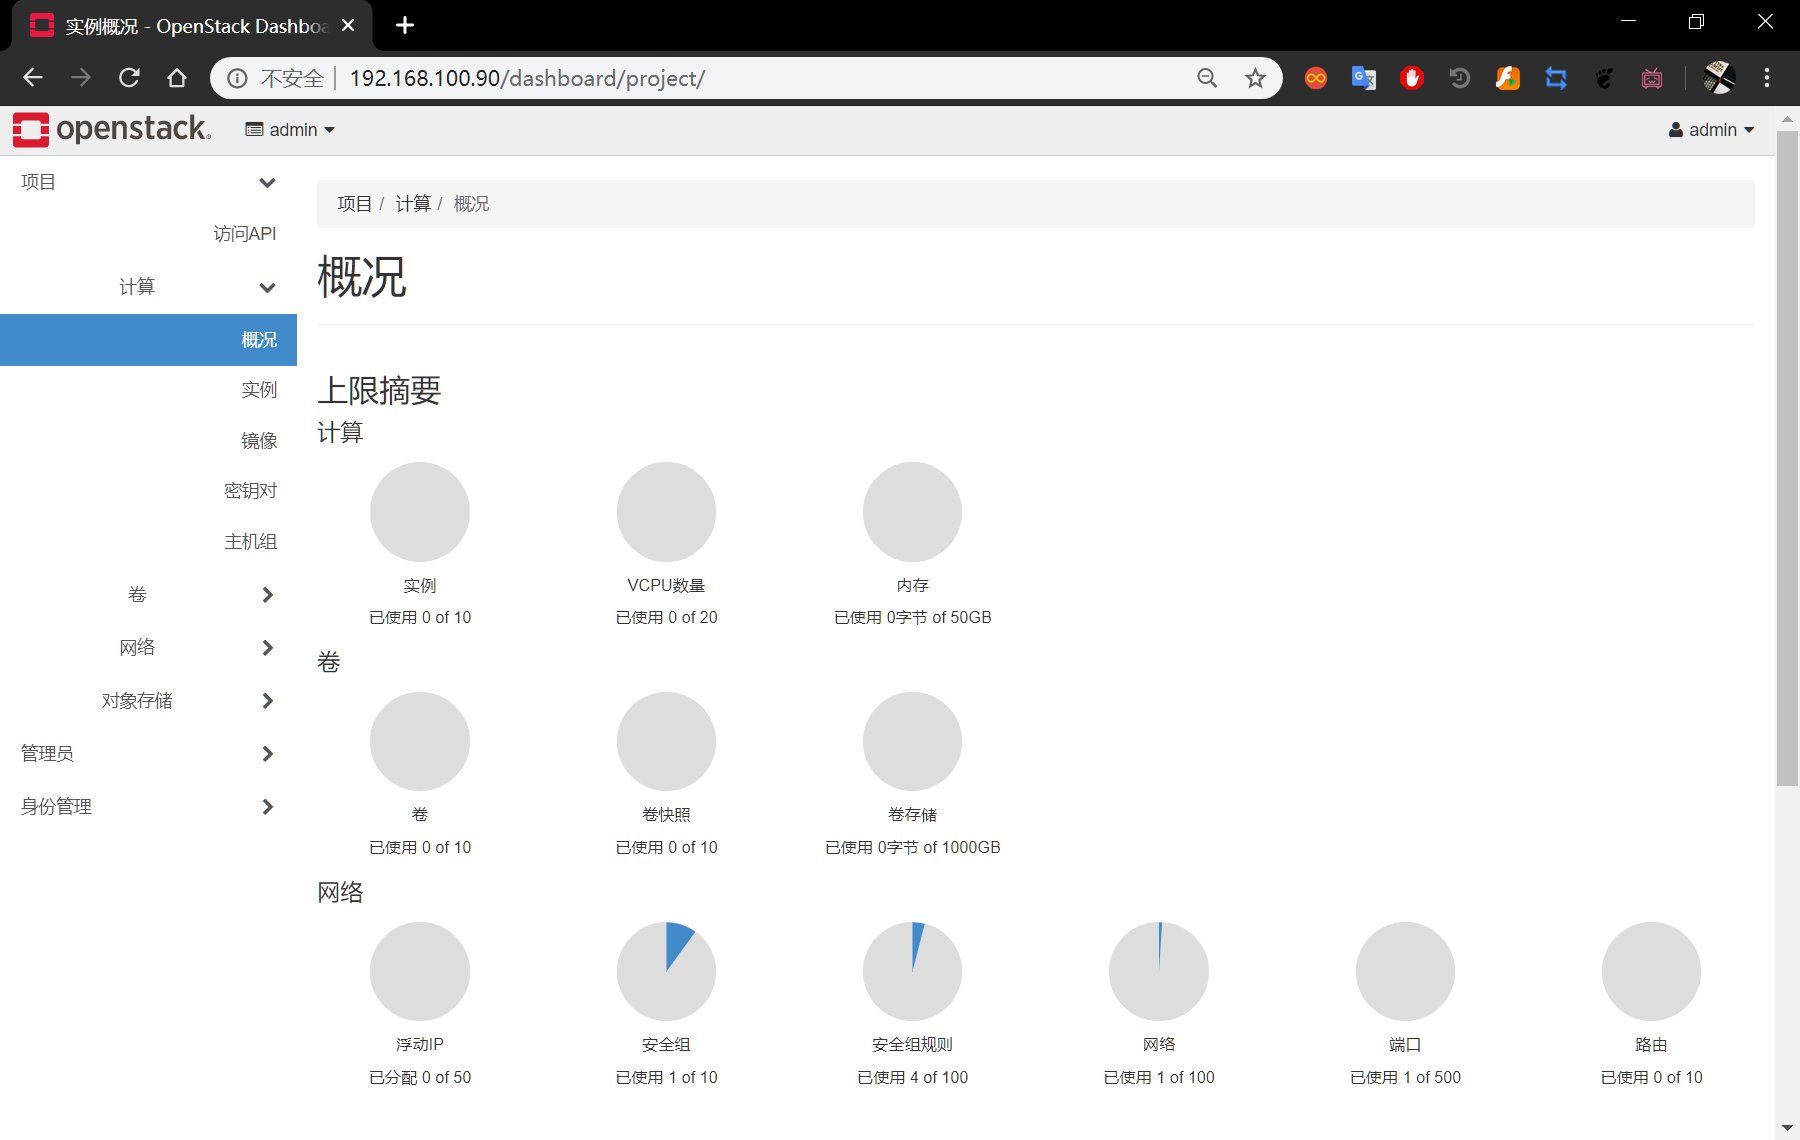
* Parameter CONFIG_NEUTRON_L2_AGENT: You have choosen OVN neutron backend. Note that this backend does not support LBaaS, VPNaaS or FWaaS services. Geneve will be used as encapsulation method for tenant networks * A new answerfile was created in: /root/packstack-answers-20200102-115042.txt * Time synchronization installation was skipped. Please note that unsynchronized time on server instances might be problem for some OpenStack components. * File /root/keystonerc_admin has been created on OpenStack client host 192.168.100.90. To use the command line tools you need to source the file. * To access the OpenStack Dashboard browse to http://192.168.100.90/dashboard .
Please, find your login credentials stored in the keystonerc_admin in your home directory. * The installation log file is available at: /var/tmp/packstack/20200102-115042-h_xYXR/openstack-setup.log * The generated manifests are available at: /var/tmp/packstack/20200102-115042-h_xYXR/manifests